How to build a modern concrete side table for $50 | DIY Furniture Tutorial üî®

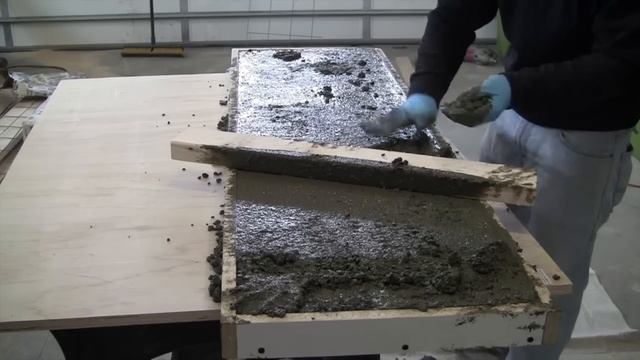
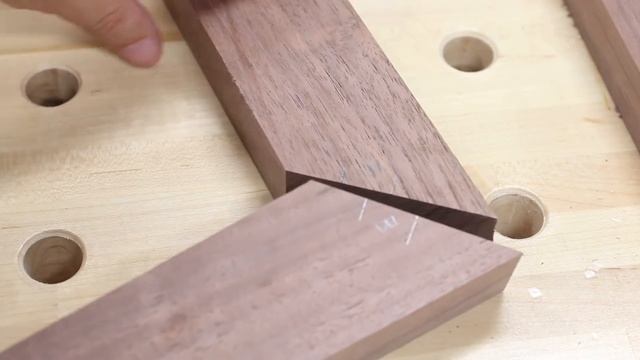
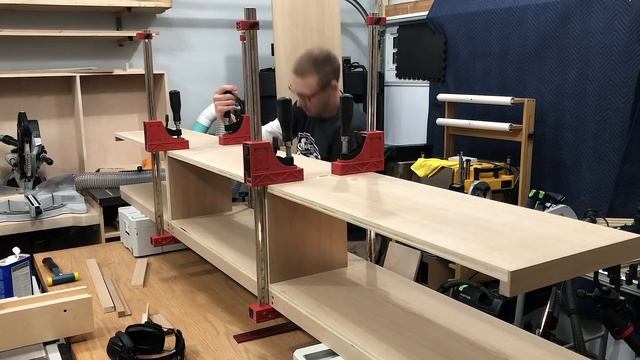
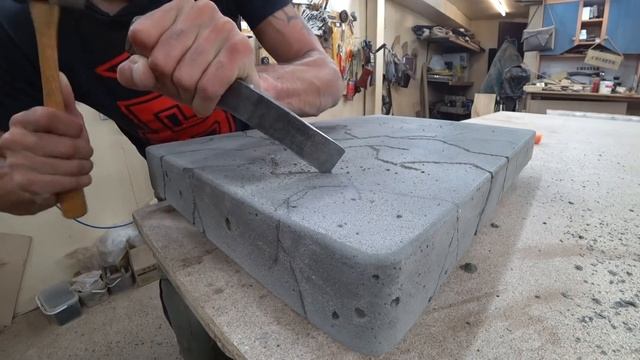
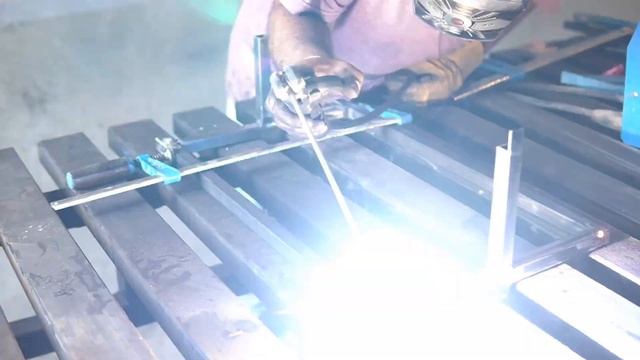
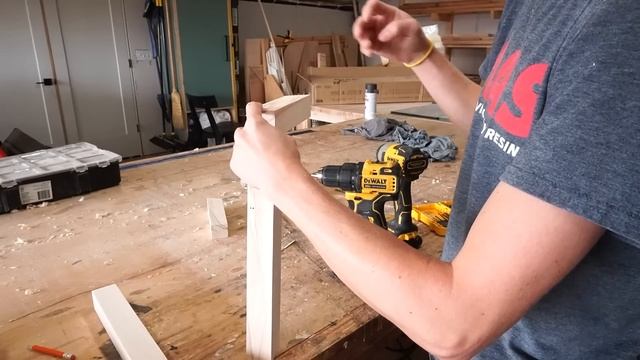
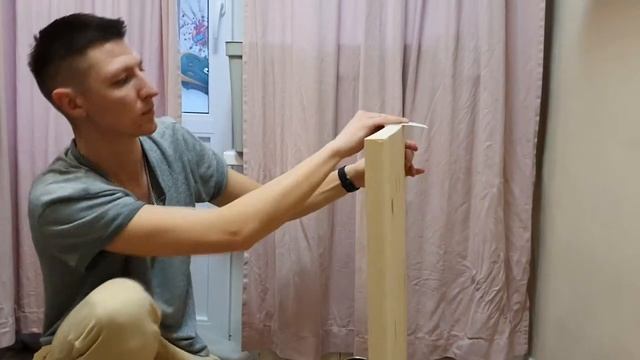
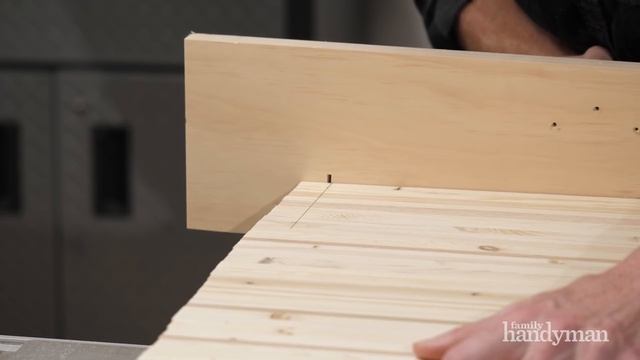
Did you know you can build your very own modern concrete side table in just a few simple steps?? In this tutorial, I dive into the process of making my first-ever concrete furniture piece, sharing the lessons learned and tips for a smooth, successful project. From what not to do when mixing concrete to achieving the perfect finish, follow along as I navigate the challenges and triumphs of DIY furniture making. Estimated cost: ~$50 | Difficulty: Medium #concretefurniture #furnitureflip #diydecor #budgetfriendly Follow me for DIY guides, project reveals, and inspiration! Website: https://dawsondiy.com. Instagram: https://www.instagram.com/dawson.diy/ Tiktok: https://www.tiktok.com/@dawson.diy Facebook: https://www.facebook.com/dawson.diy Youtube: https://www.youtube.com/channel/UCS3EDW6oxOz5K8y4m7ljNtg Chapters: 00:00 Intro / The Plan 02:37 Cutting the Pipe 04:52 How to spray paint a pipe 05:47 How to mix concrete 09:27 Adding in the metal stand to the concrete 11:56 Staining the wood round table top 16:02 Removing the concrete ü§™19:45 I‚Äôd do this differently next time 20:15 Applying a clear coat 20:55 Assembling the table23:06 Ta-da! Custom concrete side table! Disclosure: These following links contain affiliate links. I will receive a commission for items purchased through these links at no extra cost to you. I appreciate your support. Please read all labels and follow all manufacturer safety recommendations when working with paints, stains, and other equipment and wear and use appropriate personal protection equipment. Viewers should attempt these projects at their own risk. Materials & tools you could use to do this yourself! Concrete Mini Bag: https://rstyle.me/+_nwsNBNfs6O0ffn9p3EXdg 2 Gallon Bucket: https://rstyle.me/+Unl5fNEE0XAutlsjcuAXbw Mixing trowel: https://rstyle.me/+cdCfM1mbFIhpNd5AV7qMeQ(I found a pipe that comes pre-cut to 18in!) Metal Pipe: https://rstyle.me/+1EnvcLKrm8cCLrlBLeQTQQ Pipe Fitting: https://rstyle.me/+IijCa_gUlnKLeAS6pGw5jw Pipe Fitting Screws: https://rstyle.me/+Ni_jeX7VCLdR8mhd07117Q Satin spray paint: https://rstyle.me/+ddCHgWAvkuAqZ2i26MVcVg Wood round table top: https://rstyle.me/+MTAKIhUcsmLKyt58XHPObQ Pre-Stain Wood Conditioner: https://rstyle.me/+W_Rxn4cLqznhebQpaoKsFw Walnut Gel Stain: https://rstyle.me/+CXGkyg4w1JeUGaAxC6WB9A Clear Coat Polyurethane: https://rstyle.me/+Fu9-_89n9W7fN1jluF3BNQTape measure: https://links.dawsondiy.com/walmart/tape-measure Safety glasses: https://links.dawsondiy.com/walmart/hart-glassesHeadphones: https://links.dawsondiy.com/amzn/work-headphones Rubber Mallet: https://links.dawsondiy.com/walmart/rubber-mallet Level: https://links.dawsondiy.com/walmart/hart-level Rubber gloves: https://links.dawsondiy.com/walmart/rubber-gloves Foam brushes (for stain): https://links.dawsondiy.com/walmart/foam-brushesNice paint brush (I ended up using this for the clear coat!): https://links.dawsondiy.com/walmart/poly-brush 220 grit sandpaper (light sand between clear coats): https://links.dawsondiy.com/walmart/220-sanding-block Liked This Tutorial? Don‚Äôt forget to like, comment, and share this video. Your feedback helps me create more content for you! Subscribe and hit the notification bell to stay updated on our latest projects and tips!